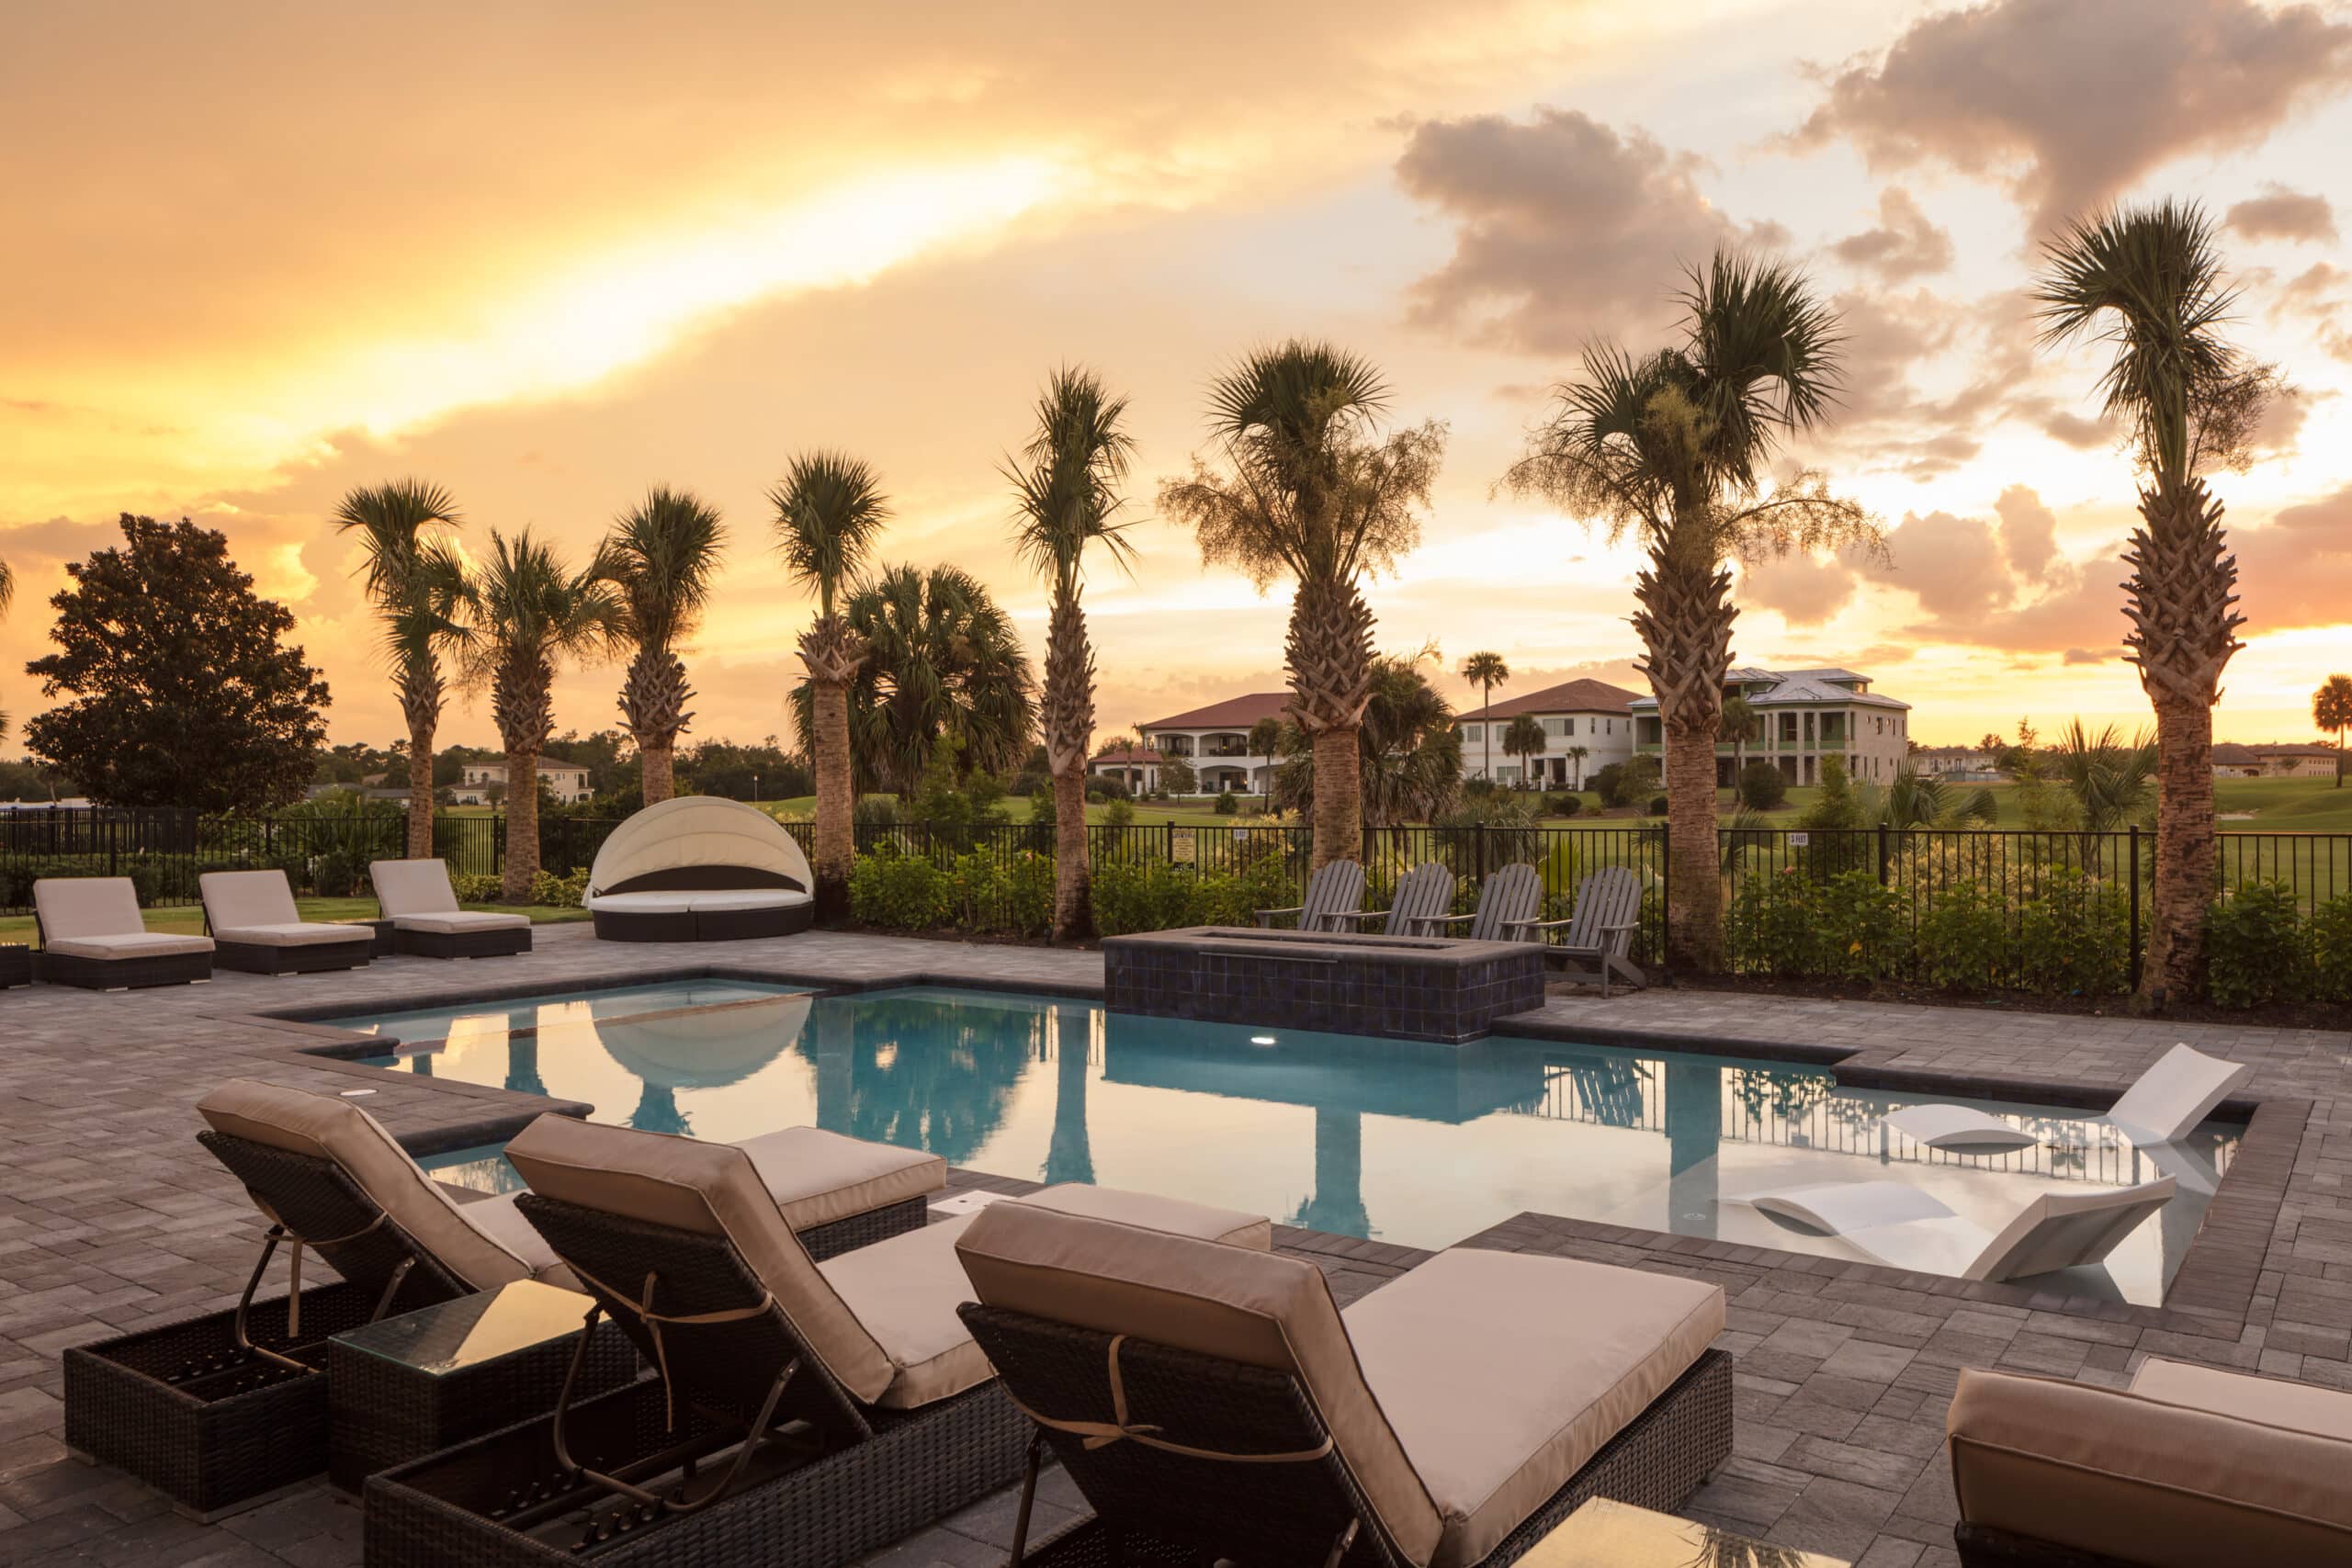
Luxury Outdoor Living. Built Right.

LICENSED AND INSURED FLORIDA POOL CONTRACTOR - CPC1460880
OUR SERVICES
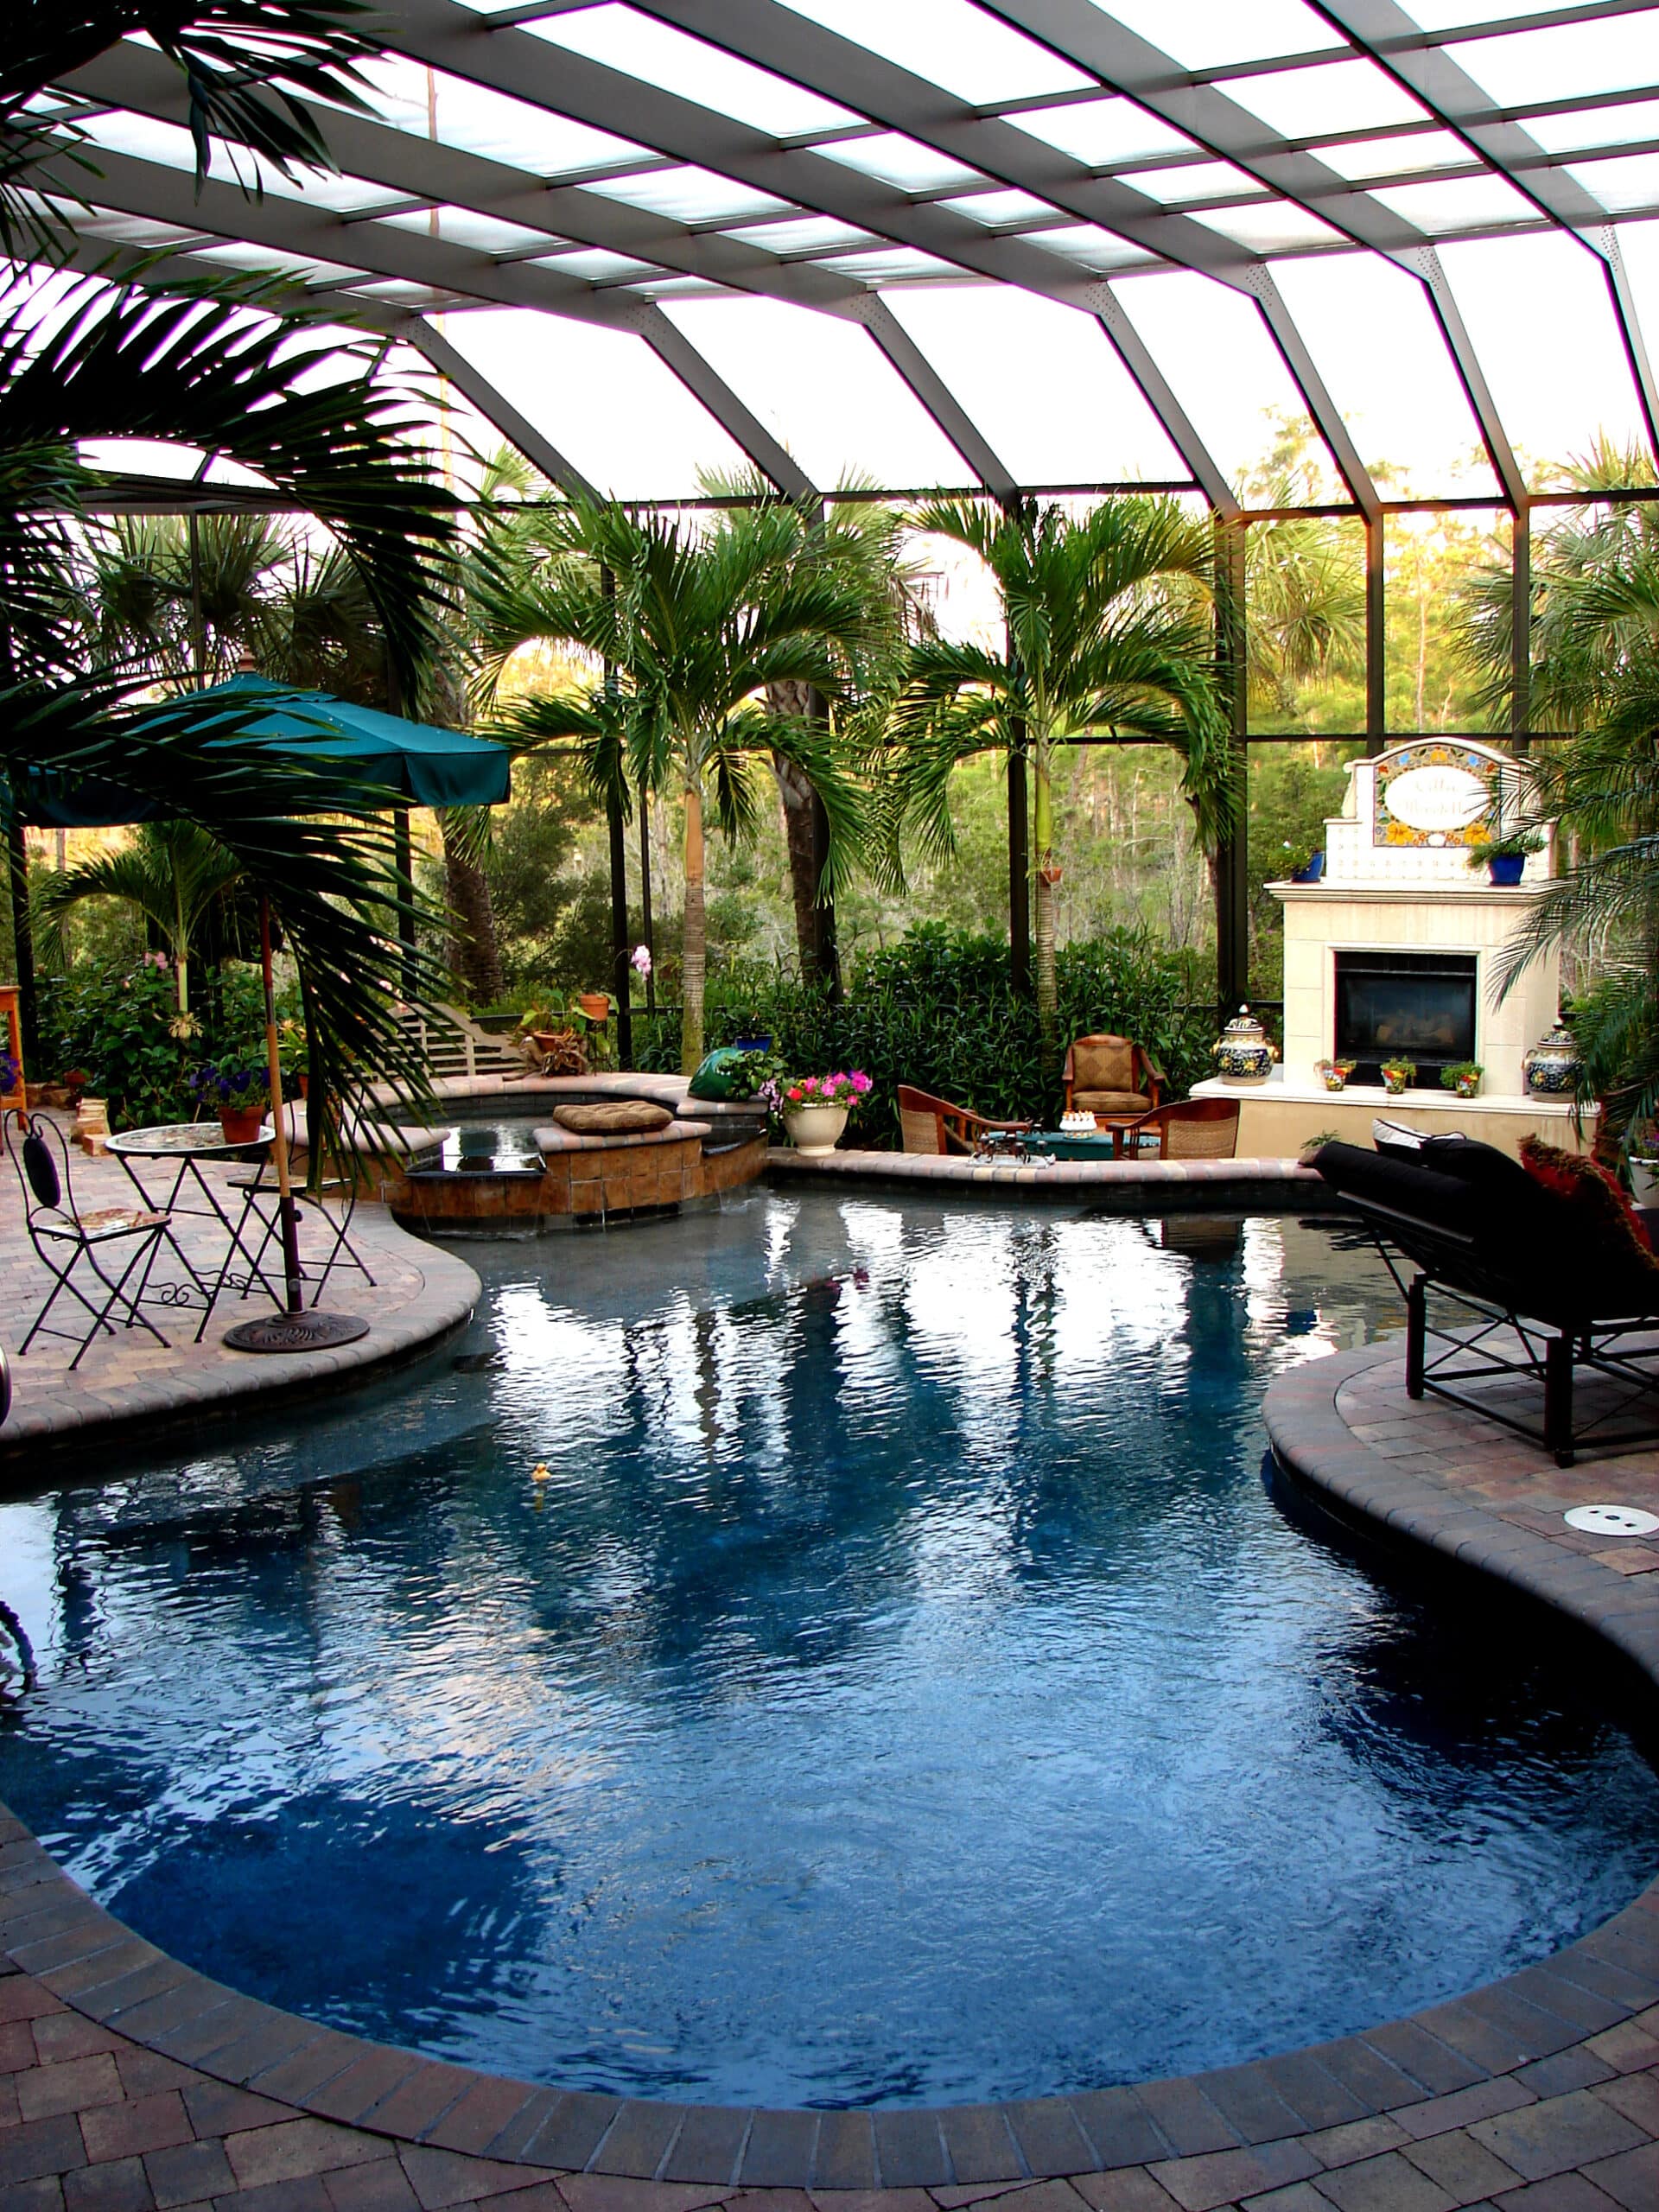
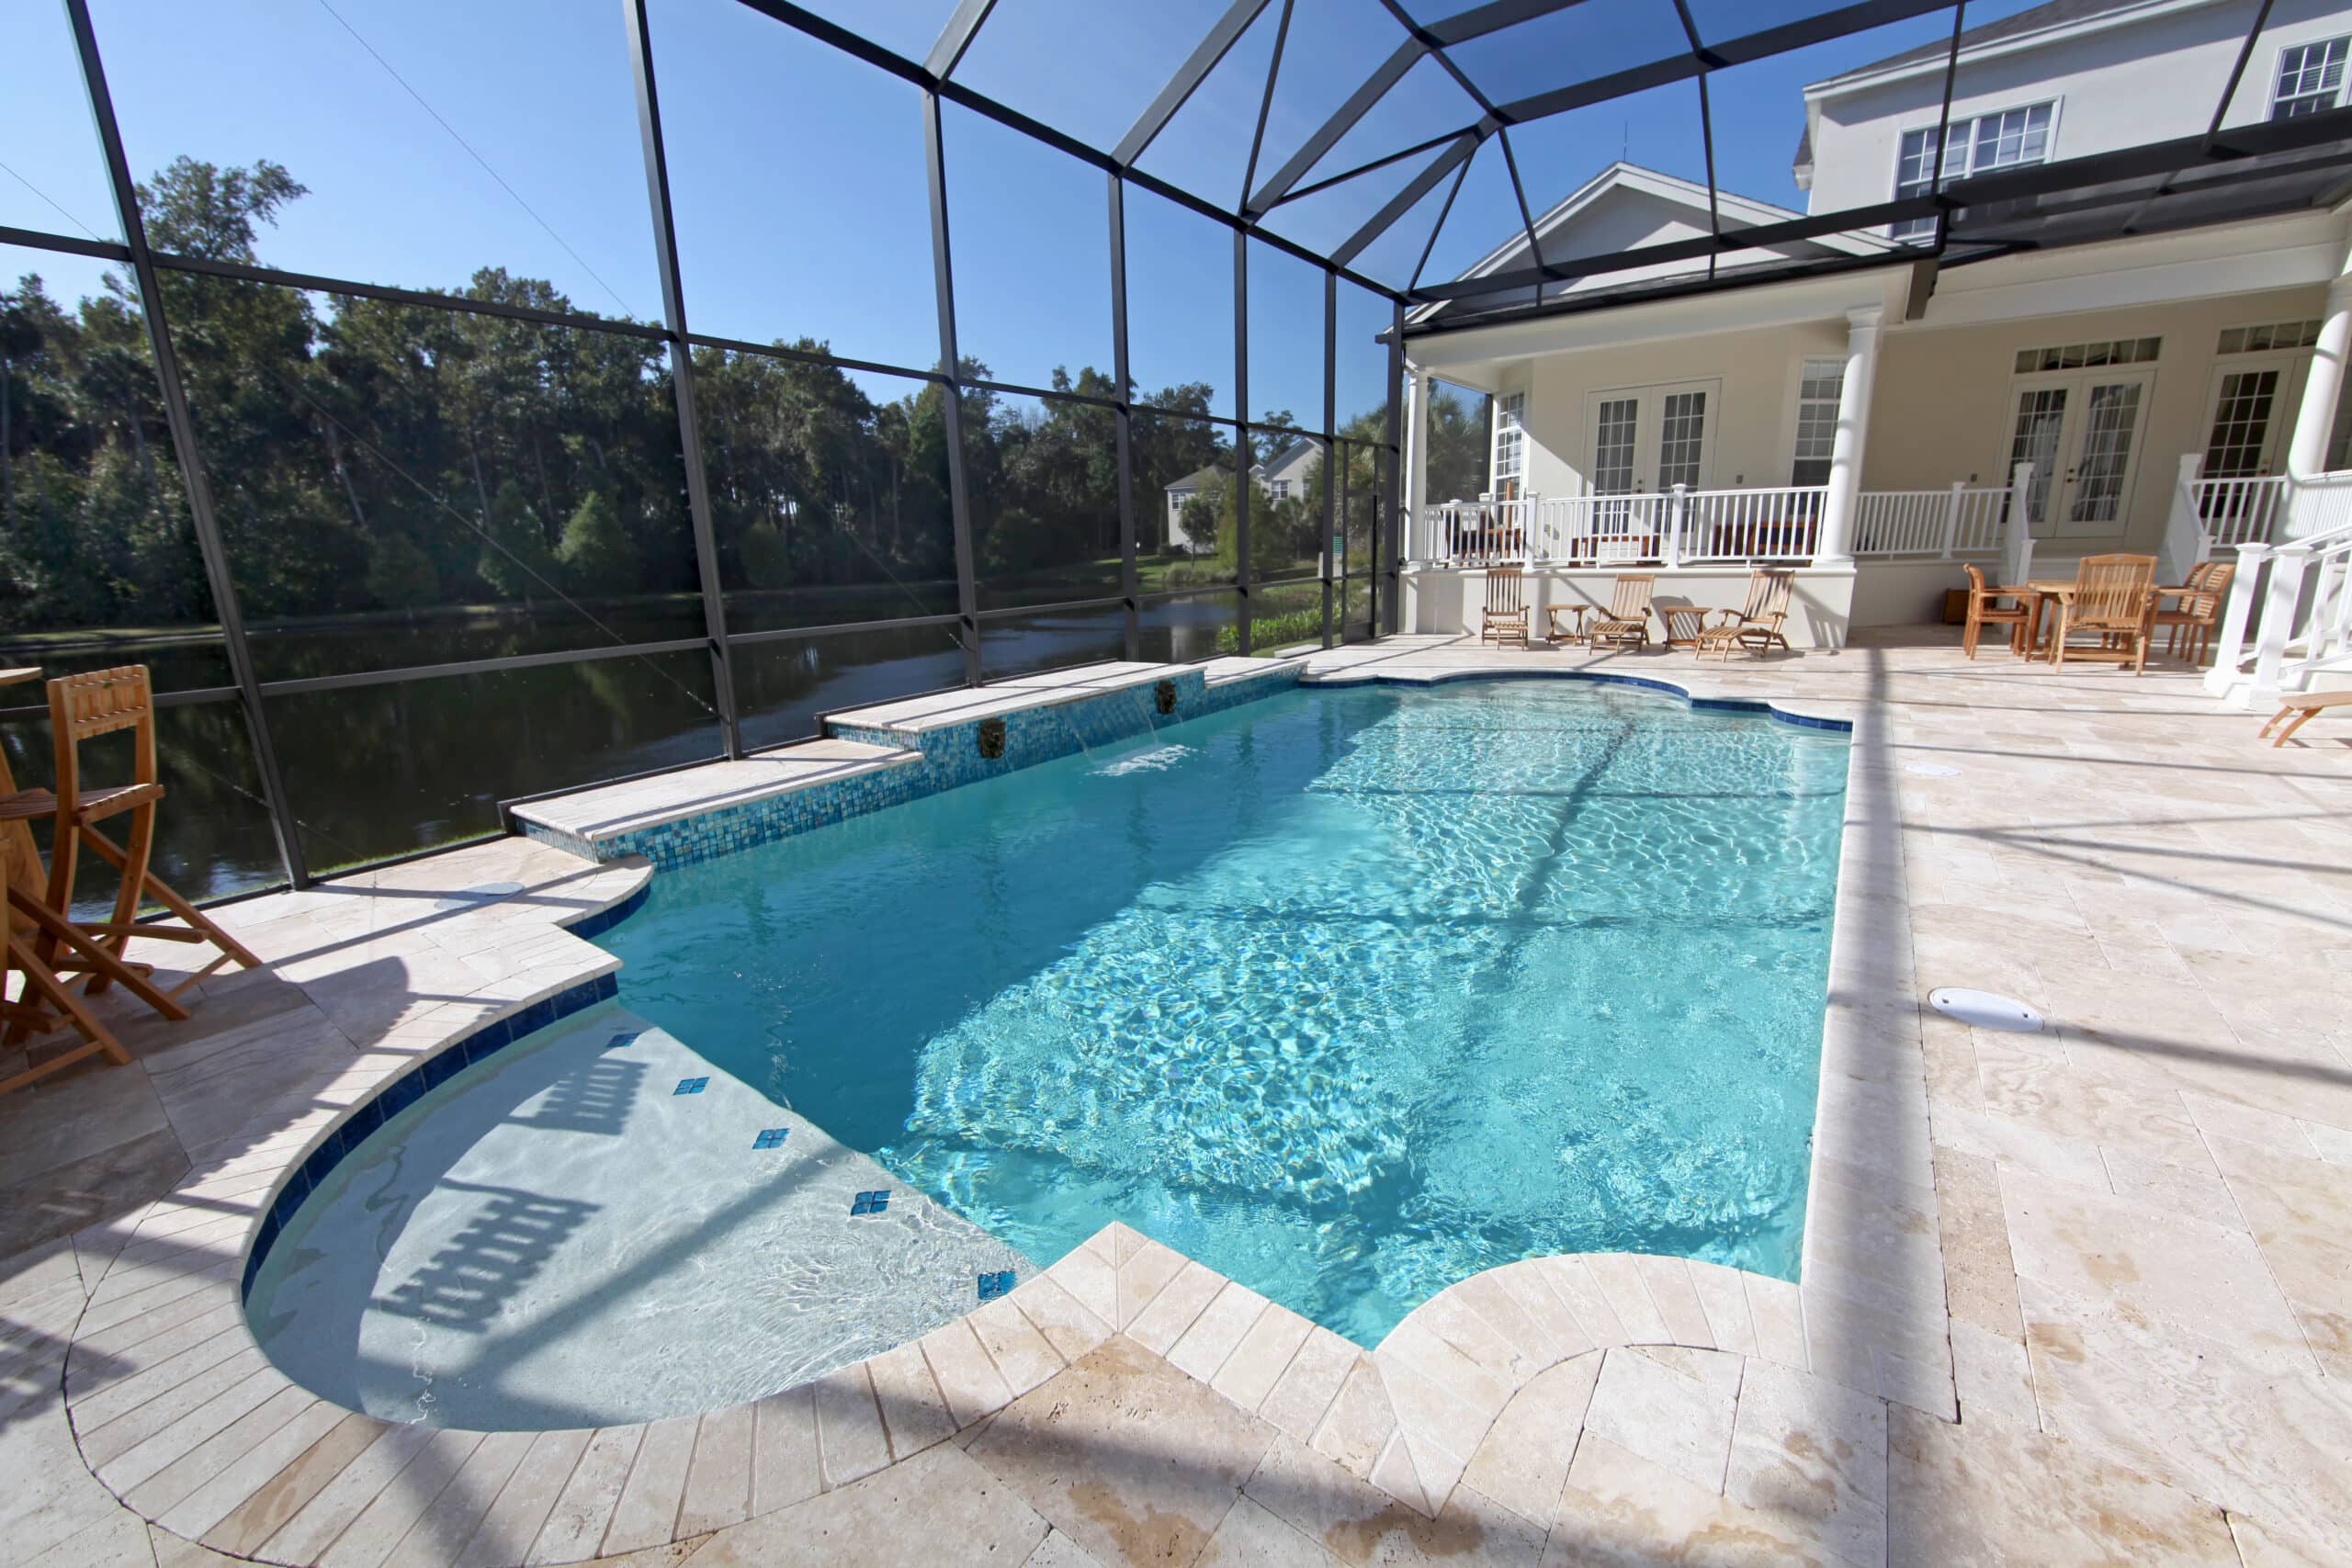
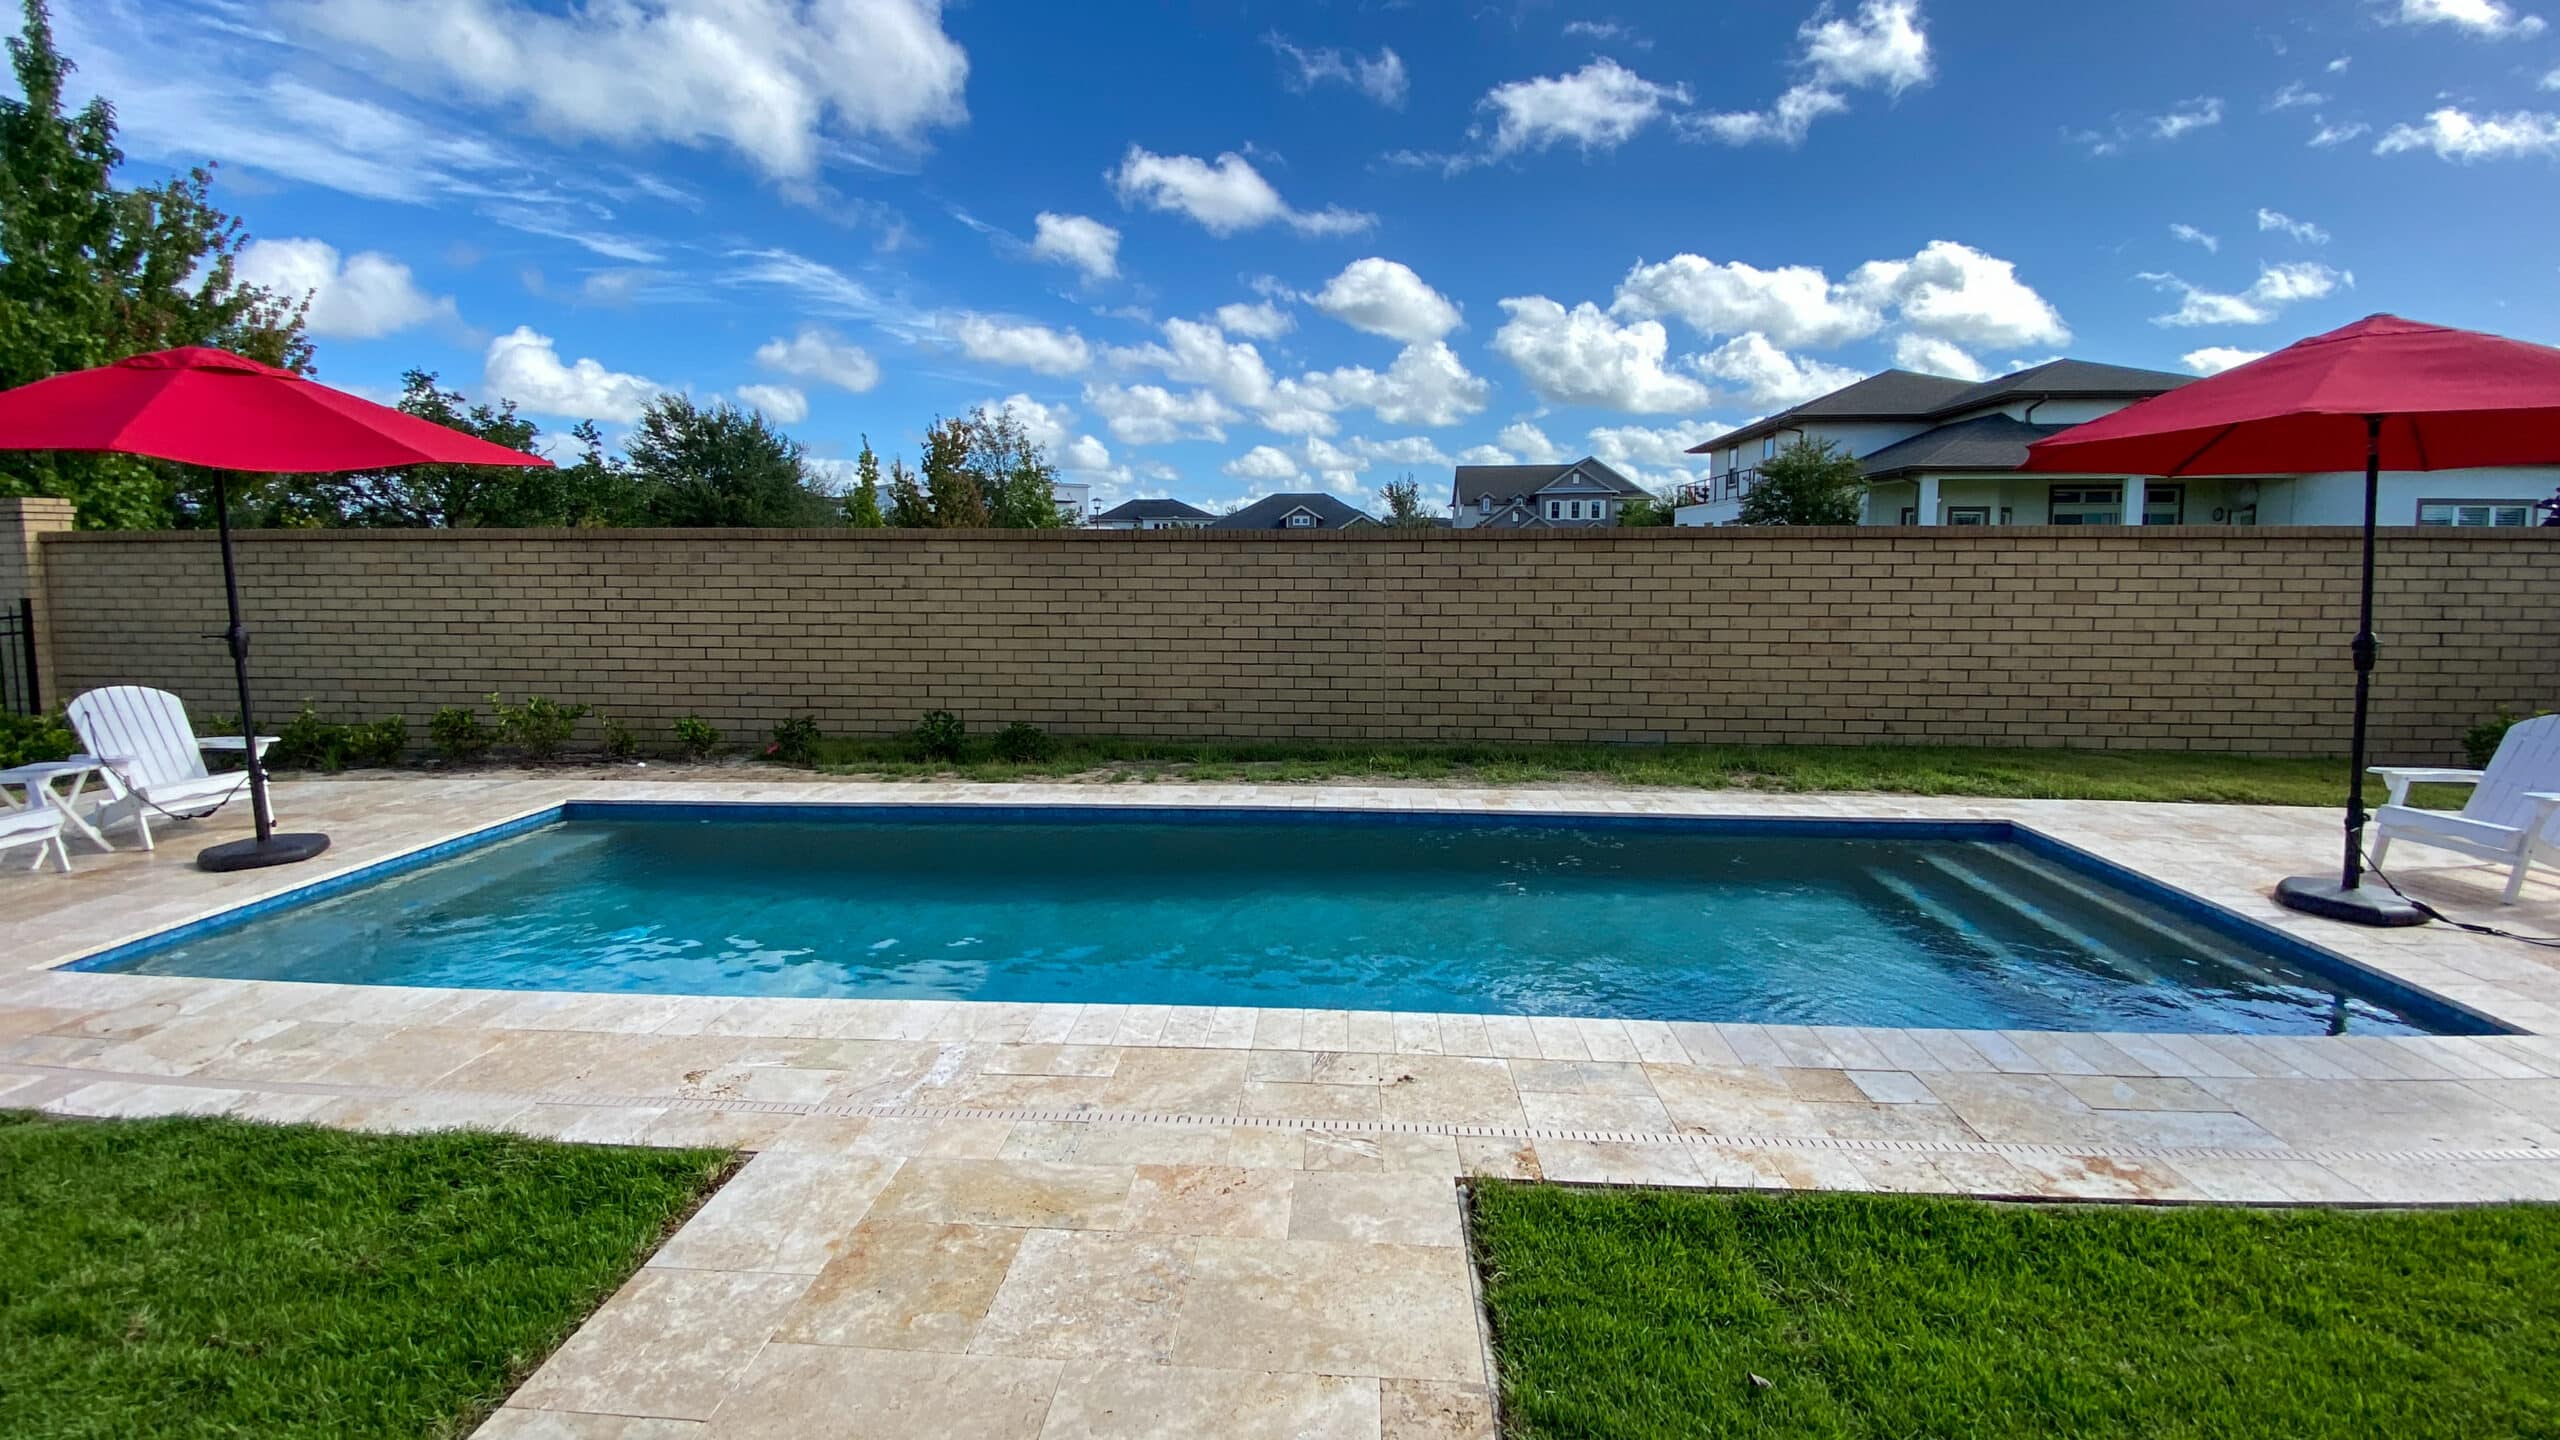
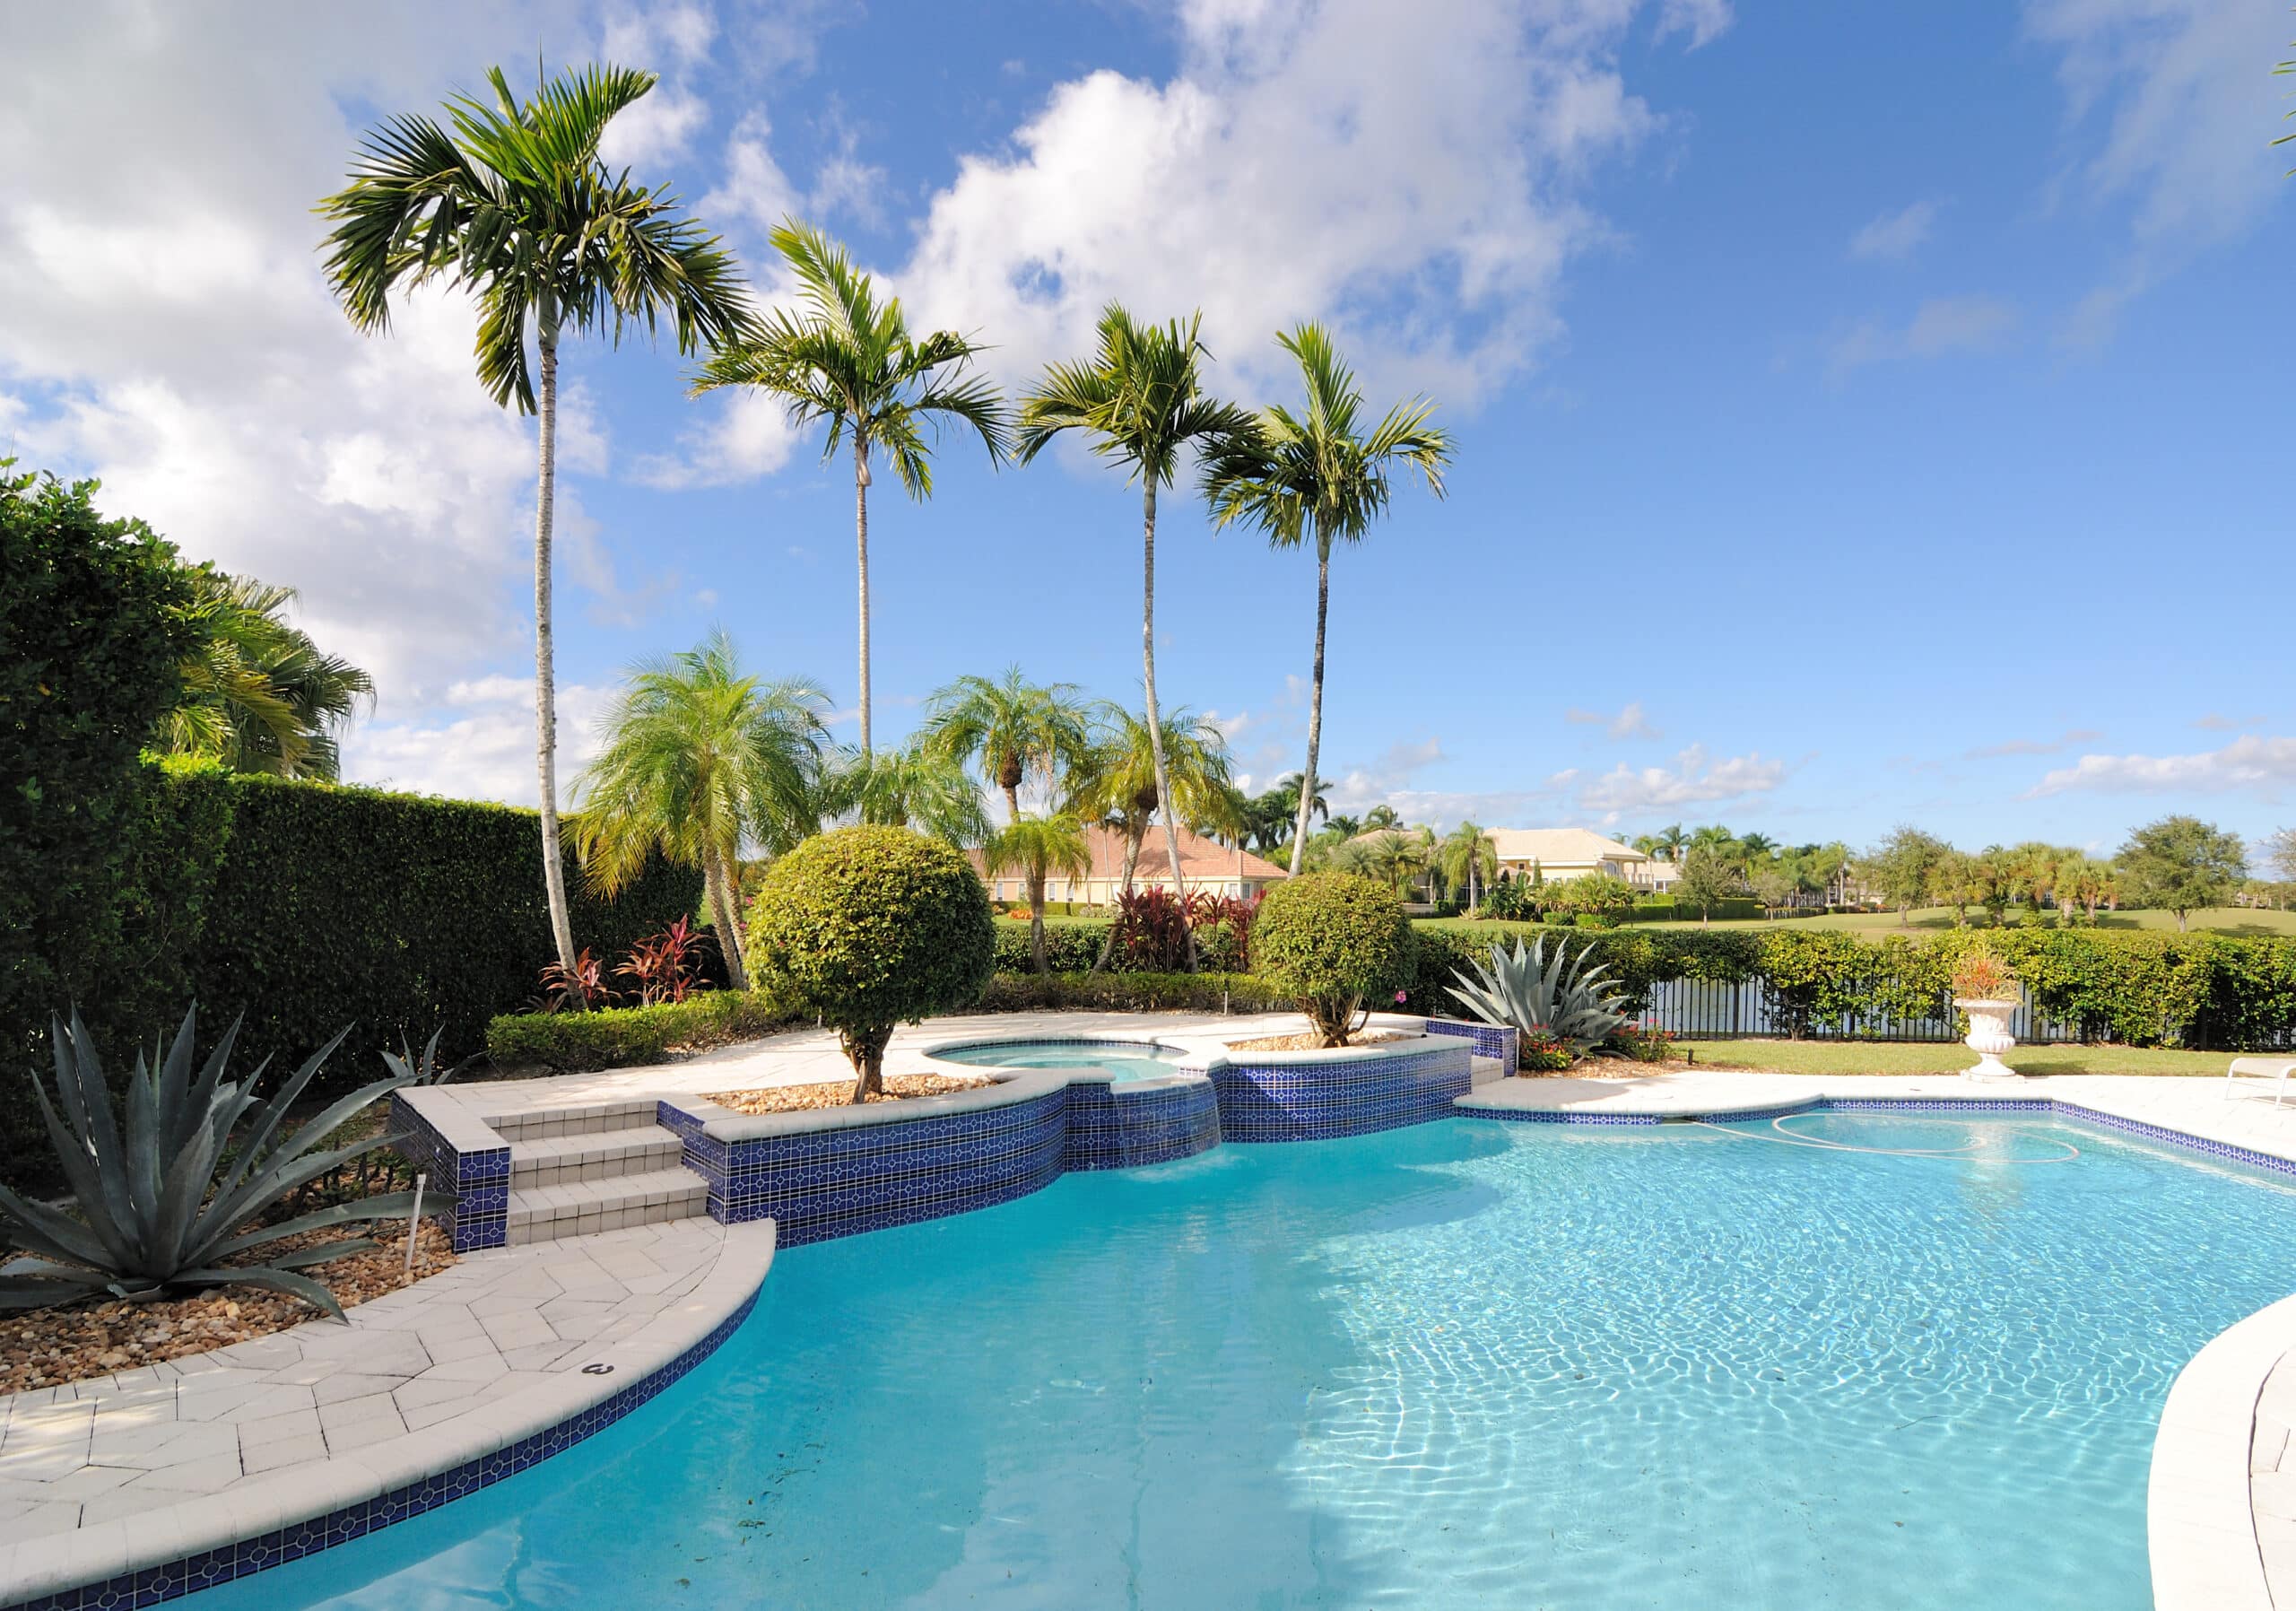
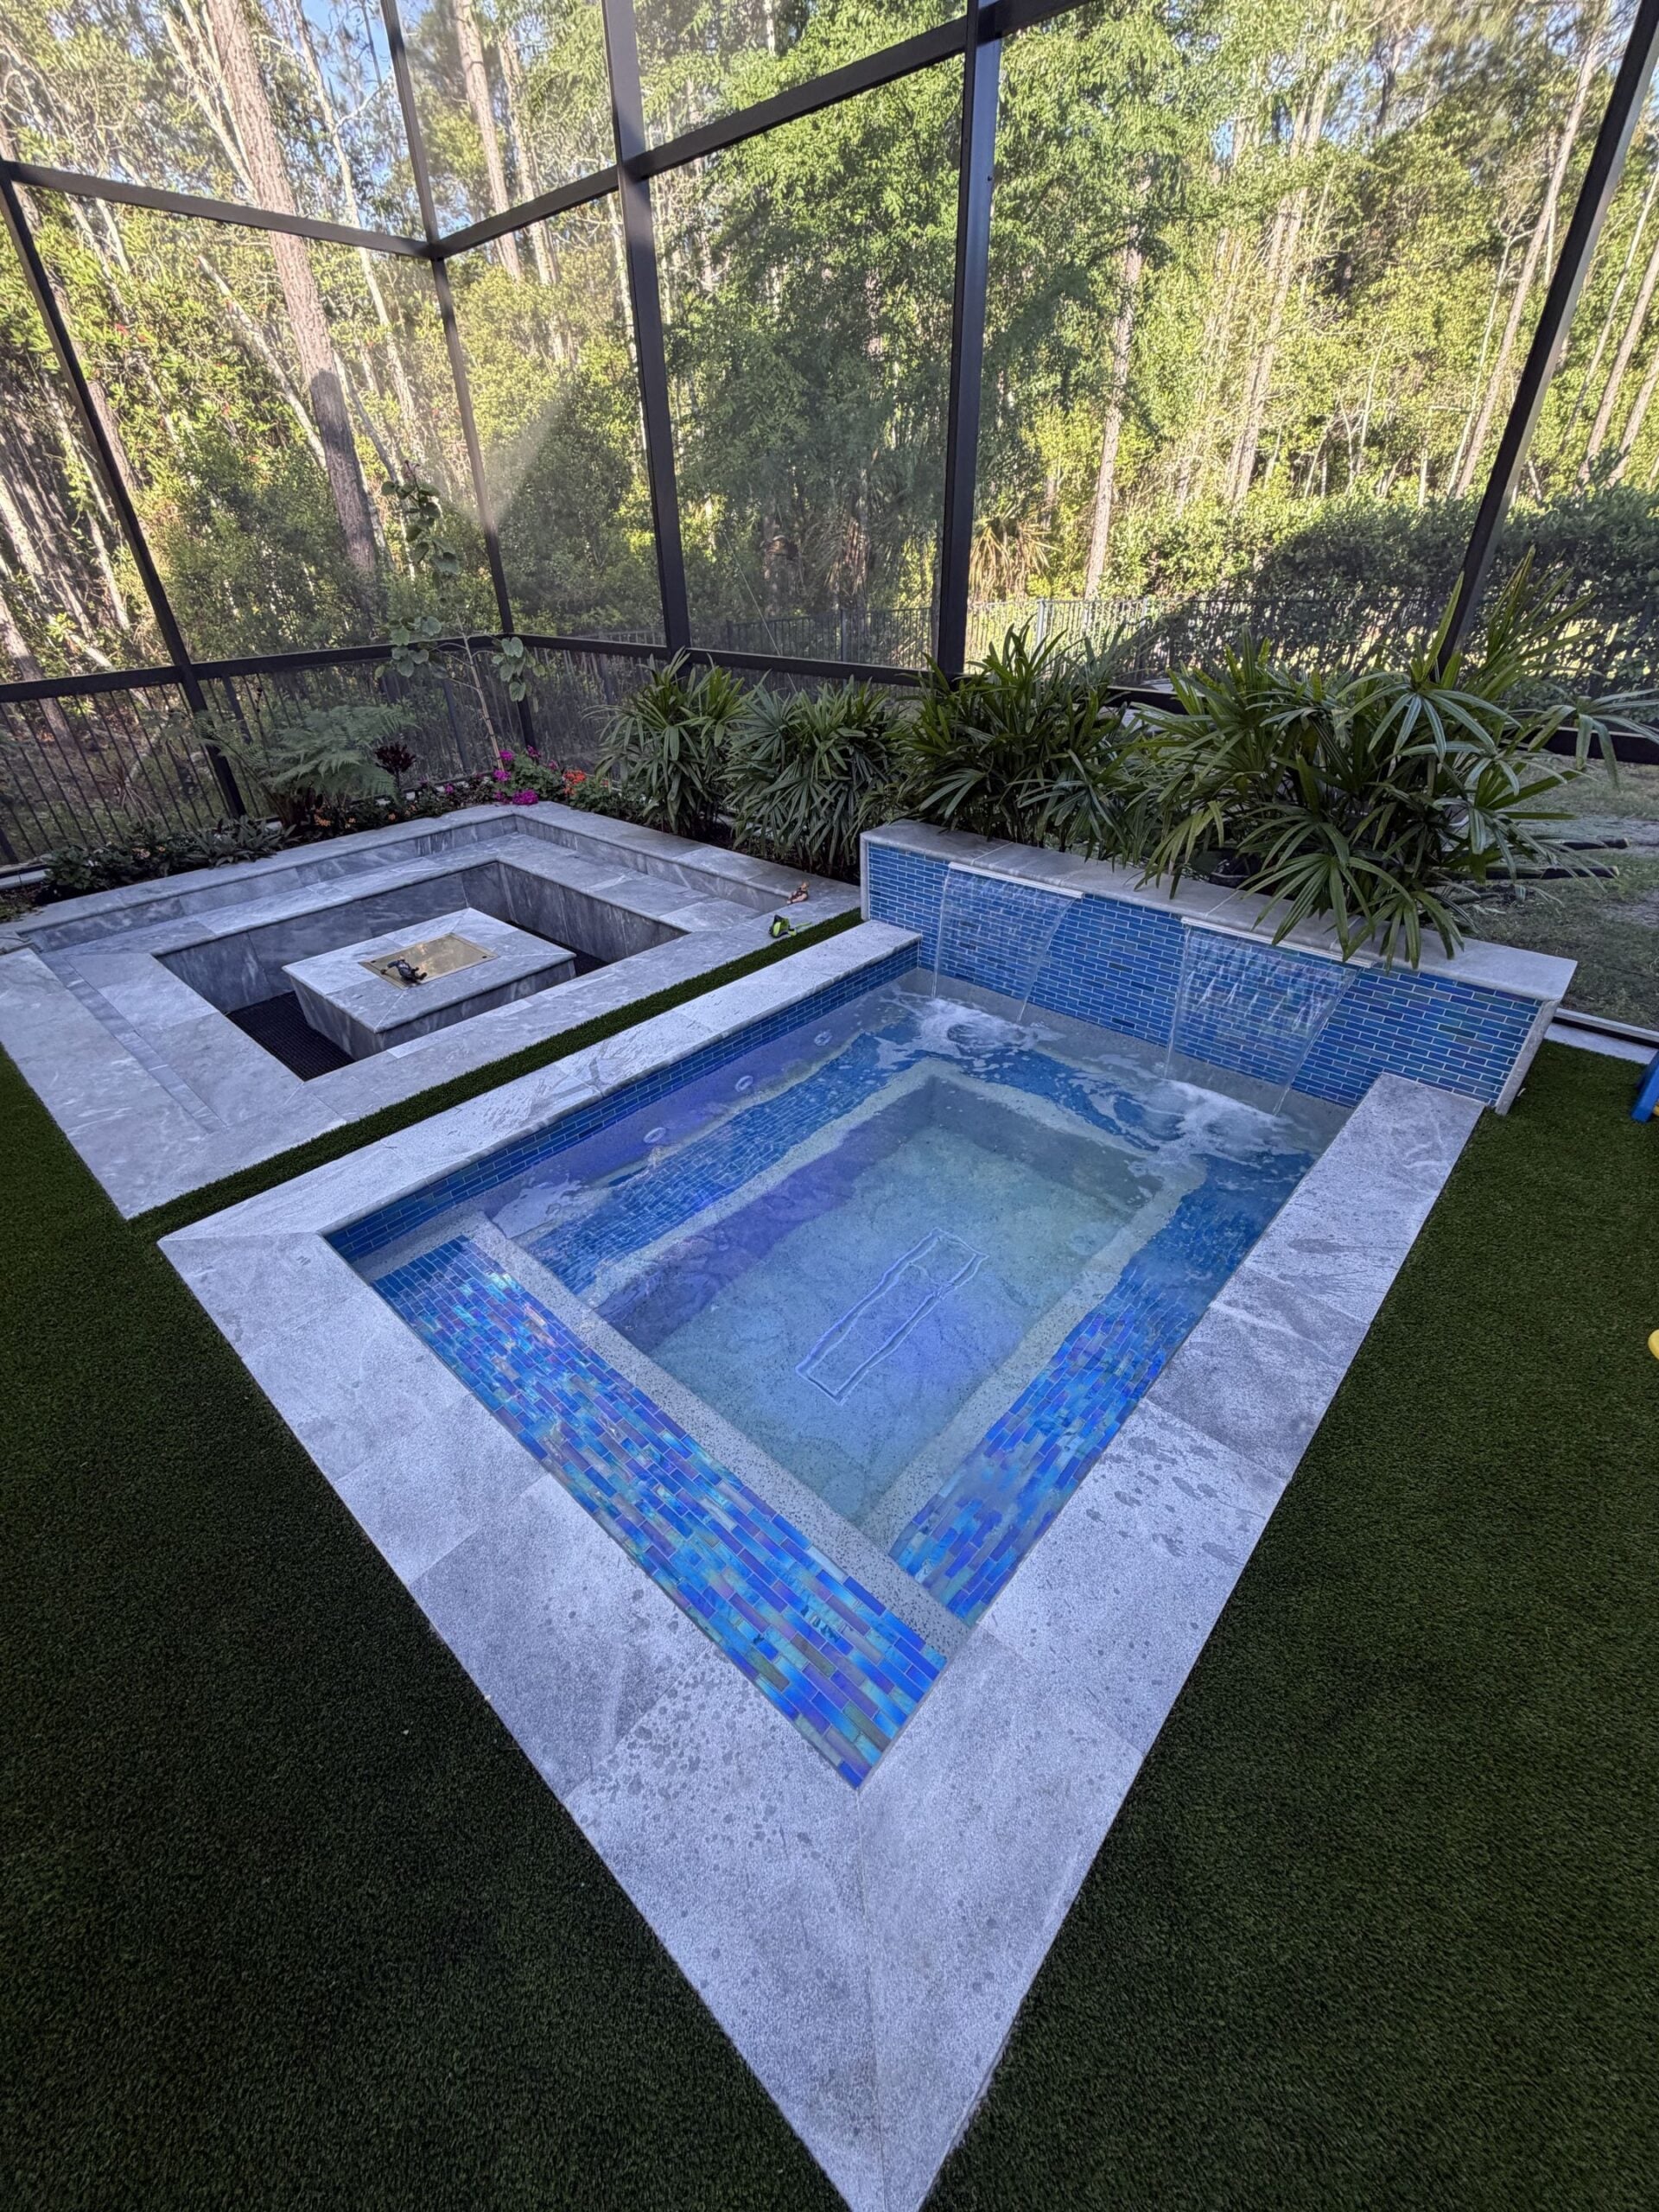
CHECK OUT OUR RECENT BUILD
BUILDING YOUR DREAM BACKYARD IS SIMPLE
STEP 1
Initial Call & Property Review
We start with a phone call to understand your goals, timeline, and budget. During this call, we request an up-to-date property survey and schedule an on-site design consultation.
STEP 2
On-Site Design Consultation
We meet at your property to discuss layout, size, shape, features, and overall vision. This meeting is about alignment — understanding your priorities and making sure we’re a good fit.
STEP 3
Concept Design & Proposal
We create a free 3D design and detailed proposal outlining scope, features, and pricing. From here, we fine-tune the design together — prioritizing what matters most and adjusting based on budget.
STEP 4
Contract Signing & Finish Selections
Once the design and proposal are approved, we meet at a showroom or display space to finalize finish selections such as tile, decking etc. The construction contract is signed, and the initial deposit is collected. All remaining payments are progress-based, not paid upfront.
STEP 5
Engineering & Permitting
After the deposit is received, our engineering team prepares and stamps the required plans. We submit all documentation to the county for permitting. This phase can be quiet at times due to county review timelines, but progress continues behind the scenes.
STEP 6
Construction Phase
Once permits are approved, construction begins. This typically includes:
Pre-site prep and sod removal, layout and forming, excavation, steel, plumbing, structural work, shell, tile, coping, footers, decking, equipment, enclosures, interior surface, pool fill, startup, and pool orientation.
STEP 7
Startup, Orientation & Pool School
After construction is complete, we balance the water, start up all equipment, walk you through automation and maintenance basics, and ensure everything is operating as designed.
STEP 8
Final Closeout
We complete final inspections, complete a final walkthrough with the client, collect the remaining balance, document the finished project with photos, and officially close out the build.